Changing
the PODLight battery pack
|
|
The PODLight features
long lasting rechargeable batteries. However, even rechargeable
batteries wear out over time and need to be replaced.
These instruction explain
how to replace the batteries. Click on any photo for a larger image.
The PODLight version
can be identified by the label in the rear of the light. The original
PODlight has no number with it. Newer versions can be identified
by the label as PODLight 2.0, PODLight 3.0...
|
|
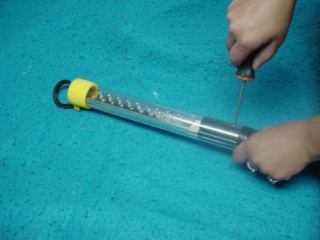
All versions
Remove black retaining
plugs from rubber handle by prying up with screw driver.
|
 |
|
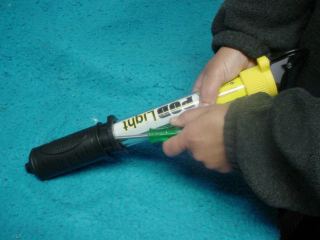
All versions
Remove rubber handle.
This is made easier by lifting edge of rubber housing then twisting
the rubber housing at the hexagon end of the housing while pulling
off.
If you have difficulty
removing the rubber housing. Lifting the edge and putting a small
amount of water under the rubber housing will lubricate it and make
it easier to remove.
Be sure to dry any water
before reassembling.
|
 |
|
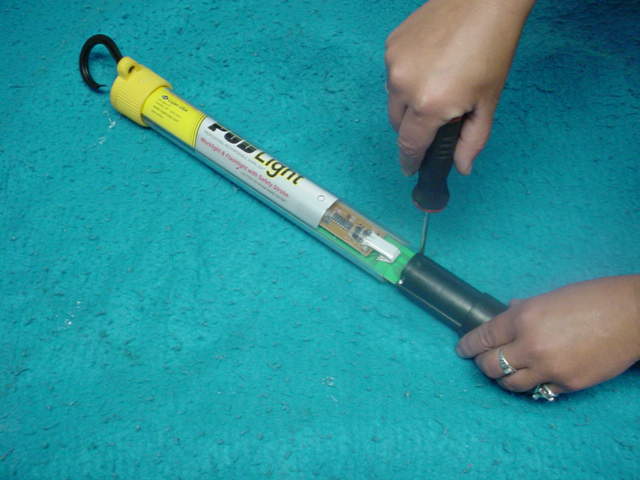
All versions
Remove the single screw
that locks the polycarbonate lens.
|
 |
| Version
2.0 and newer |
Remove yellow end cap
buy prying two yellow plugs from the cap.
Remove two screws from
back of flashlight reflector and carefully remove the reflector.
|
|
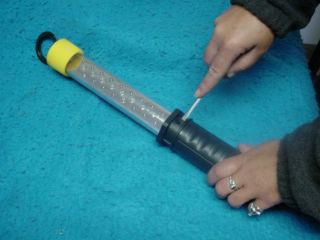
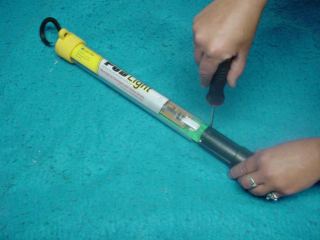
All versions
Slide the black housing
out of the clear lens about 6" until all four screws in the
black housing are exposed.
The led board will move
with the housing. Pull straight out and be careful not to break
the circuit board.
|
 |
|
All versions
Remove the four screws
holding the black nylon battery housing together.
Open housing.
|
 |
|
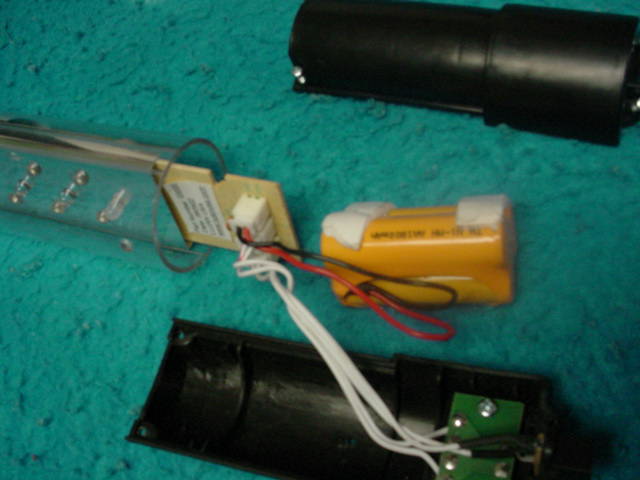
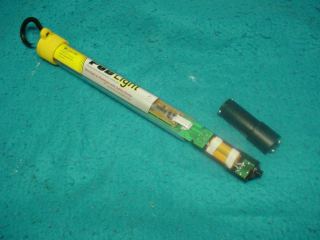
All versions
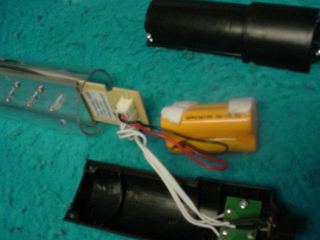
Unplug the battery pack
from the circuit board. Be sure to note the wire position.
Transfer the padding
from the old battery to the new battery. The padding keeps the battery
tight in the housing. A small piece of foam can be substituted if
needed.
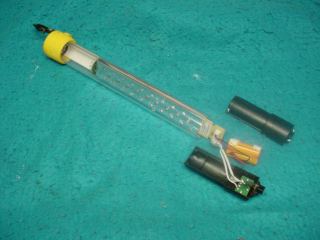
Plug the battery into
the circuit board and position as shown in photo. The best wire
routing is shown in photos. Wires should run in between individual
batteries. Be sure that no wires are pinched under battery pack
or at either end of battery pack.
Reassemble light by reversing
order of battery removal.
Be sure that no wires
are pinched during re-assembly.
|
 |
|
All versions
Just in case you forgot
to check the wire position.
The battery wire plugs
in to the far right plug when the LEDs are facing you. The black
wire should be above the red wire.
|
 |
| |
| Please
dispose of used battery pack according to state, local, and federal
regulations. |
| |